
If you’re like me, you probably love your Brita pitcher filter. It makes your water taste delicious, and it’s a great way to reduce the amount of plastic waste we produce each year. But did you know that you should be cleaning your Brita pitcher filter on a regular basis?
You should hand wash your Brita pitcher filter with dish soap and water every 1 to 2 months. You should also do a deep cleaning every 3 to 4 months to remove mildew and limescale. Cleaning the Brita pitcher requires taking it apart, washing each part by hand, disinfecting any mold growth with vinegar, and replacing the filter.
In this blog post, we provide step-by-step instructions for cleaning your pitcher, guidance on removing mold and limescale, and other tips for ensuring you and your family have great tasting water. Keep reading to find the answers to the question – how to clean a Brita pitcher
Read my article: What Does a Brita Filter Remove – Is Your Drinking Water Safe?
Table of Contents
Do You Need to Clean Your Brita Pitcher?
Brita water filters need to be cleaned routinely to remove limescale, mold, and bacteria buildup. Failure to keep it clean can cause your Brita pitcher to become unsanitary and may give your water a funky taste. Plus, a dirty pitcher is just gross.
It’s important to clean your Brita pitcher every two months. It doesn’t take long for mineral deposits to build up or mold to start growing on the plastic. Regular cleaning will keep this accumulation under control and make sure your water is clean and safe to drink.
In addition to routine cleaning, you should do a deep clean every 3-4 months for optimal performance. This level of cleaning involves scrubbing the inside and outside of the pitcher, the reservoir, and the lid to remove mold and scale. If your pitcher is exposed to sunlight, you may have algae growing in it, too.
How to Clean a Brita Pitcher
Cleaning your Brita pitcher is really easy. You should get in the habit of regularly cleaning your filter to ensure you always have pure water. Here is my list of things you’ll need.
Checklist for cleaning Brita pitchers
Start by getting everything you need assembled. Here is what you’ll need:
- Rubber gloves
- Sponge
- Dish soap
- White vinegar
- Measuring cup
- A clean dish towel or a drying rack
- New filter
Once you’re ready, follow my step-by-step guide.
Step 1: Take the pitcher apart
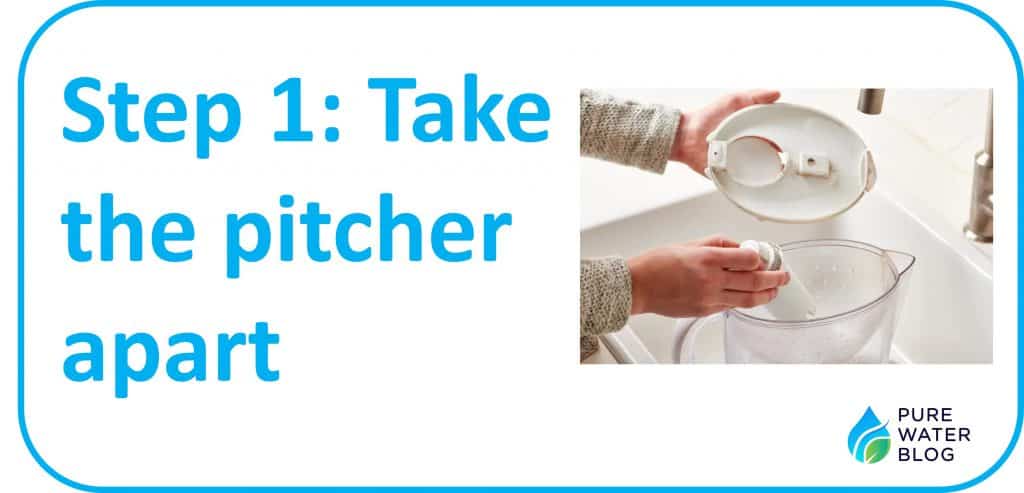
Start by removing the lid and emptying the water from the filter. Next remove the reservoir and the other parts that hold the filter in place. Remove the filter from the pitcher.
If the pitcher has been in service for more than two months, throw it away. You’ll need to install a new filter. If it’s been less time, set the old filter aside so you can reinstall it after you’ve cleaned everything.
This is a good time to check for how dirty or fouled the pitcher is. I also like to look for damaged parts that may need to be replaced. Fortunately, Brita makes a good product, and their pitcher filters are very rugged.
Step 2: Wash the lid, reservoir, and pitcher
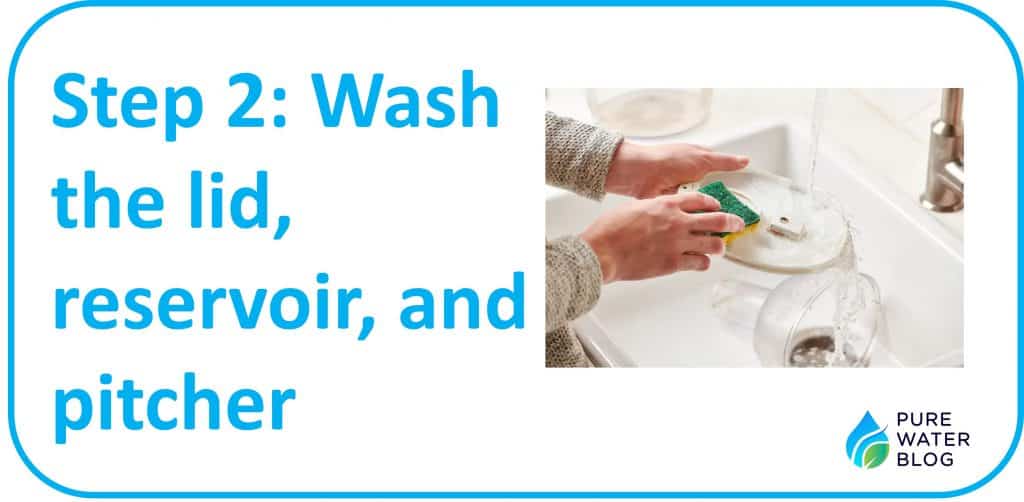
Wash the pitcher and all of the components by hand using a mild detergent. Clean the lid and reservoir by rinsing the with warm water, then suds it up using a clean rag or sponge. Use plenty of clean water and soap to get all of the dirt and grim off the pitcher, especially the interior surfaces that are in contact with the water.
Next, clean the inside and outside of the pitcher in the same way you did the lid. Be sure to clean every square inch of the pitcher, especially in the crevices where mold and limescale can hide. Rinse everything thoroughly with warm water.
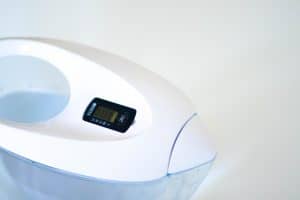
If your Brita has a digital filter monitor, make sure you don’t submerge it in water. It is rated for wet duty, but you shouldn’t allow it to be under water to keep it working properly.
Step 3: Remove limescale
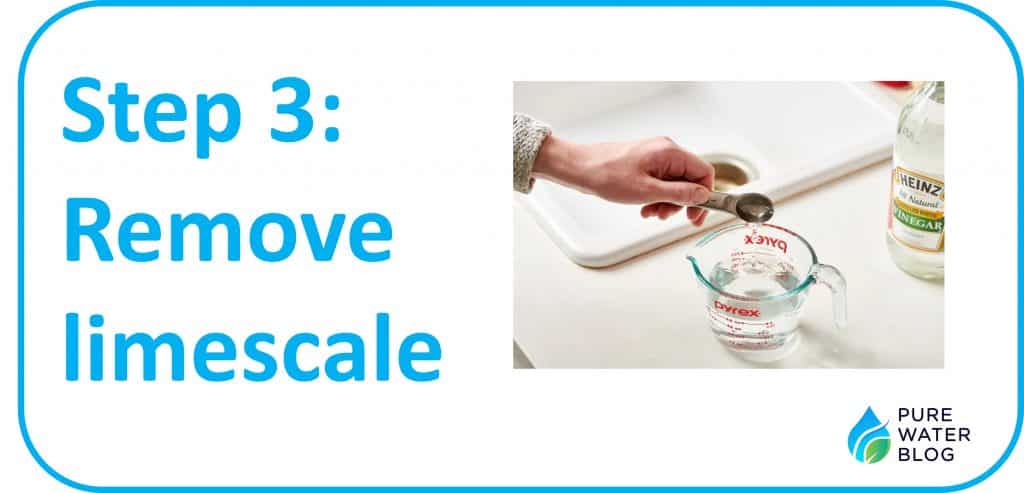
Check the inside of the Brita water filter pitcher for hard water deposits. If you see any, use vinegar diluted with water in a 1:1 ratio. Vinegar will dissolve the limescale deposits with a little bit of gentle scrubbing.
For heavy mineral deposits, you may have to soak the parts in vinegar overnight. Once you’ve removed the deposits, rinse everything with water before proceeding.
Keeping your Brita water pitcher free of deposits is important for optimum performance. I find that a scale-free pitcher looks great. This is the best way to clean a Brita pitcher.
Use a water softener water if you’re worried about water hardness.
Step 4: Remove mold and disinfect pitcher
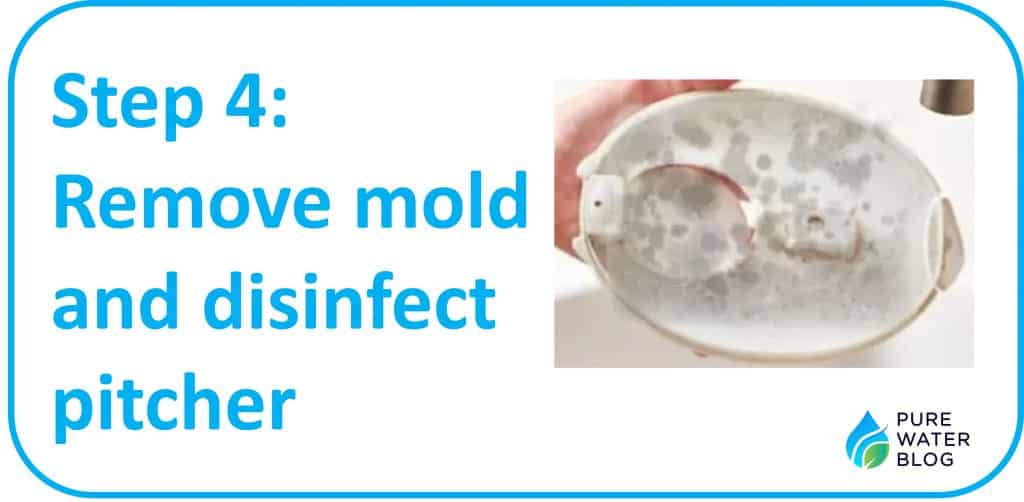
Once you’ve washed the pitcher, use plain white distilled vinegar to disinfect it. Simply pour ½ cup of vinegar into the pitcher and swoosh it around for a minute or two.
Let the vinegar sit for about 10 minutes and then discard it. The acidity of the vinegar kills any mold or bacteria that may have been growing in your Brita water pitcher.
Don’t use bleach to disinfect your pitcher. The chlorine in bleach is not good for the plastic and can cause discoloration over time.
Step 5: Rinse thoroughly and allow your clean Brita to dry
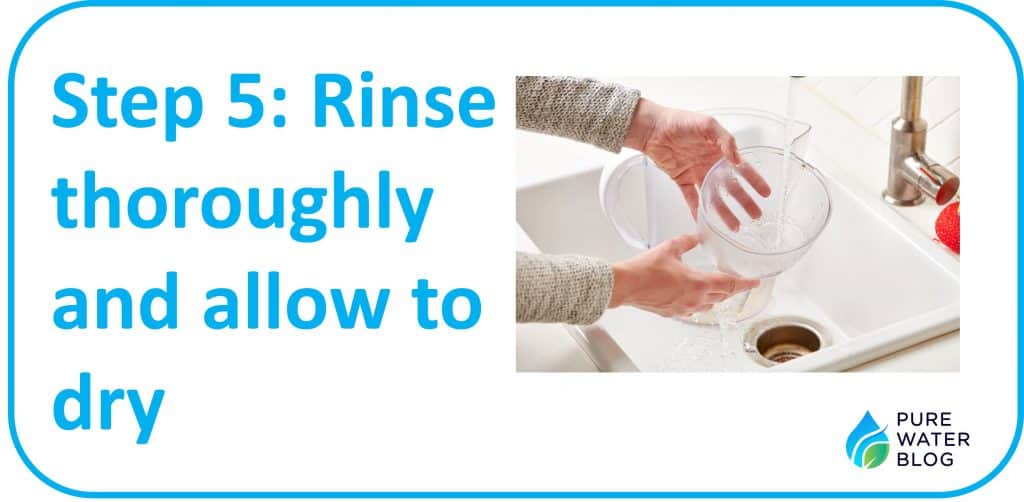
Once you’ve finished cleaning, rinse everything with warm water to remove any residual soap or vinegar. Use plenty of water to make sure all of the soap and vinegar are removed.
Then place everything on a clean towel and allow to air dry. Brita recommends that you air dry your pitcher for best results.
Don’t dry your pitcher with a towel because it can transfer fibers to the surfaces. In addition, paper towels can scratch the plastic surface of your pitcher making it look dingy.
Step 6: Put the pitcher back together
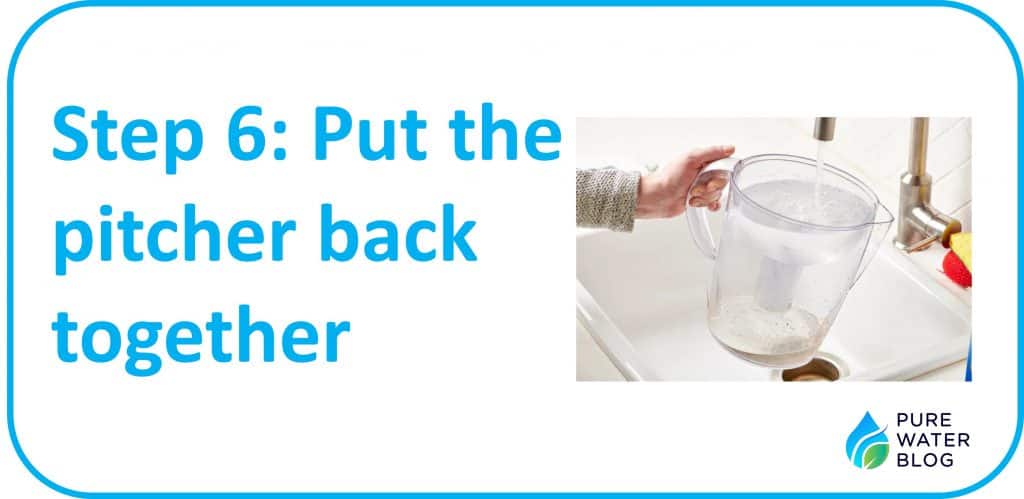
After everything is dry, reassemble the pitcher. The Brita pitcher is easy to reassemble – you just reverse the process of taking it apart.
Insert the reservoir back into the pitcher, then attach the old filter or replace it with a new one. Put the lid back in place and make sure everything fits together snugly.
You may need to soak the filter before installing it. The new filters don’t need to be soaked, but some of the older filters do. Check the filter instructions for how to do this properly.
After you’re done, enjoy your clean Brita and have a glass of good-tasting water.
Read my article about how to change a Brita filter.
How Often Should You Clean Your Brita Pitcher?
You should wash your Brita pitcher every month or two. Brita recommends cleaning it once a month. I’ve found that you can get away with doing it every two months. You’ll have to decide what cleaning frequency works for you.
I recommend cleaning a Brita pitcher every 3 to 4 months. Deep cleaning removes mold, algae, bacteria, and scale deposits that build up in your pitcher. If your pitcher gets a lot of use or you live in an area where mold grows easily, you may want to do this intensive cleaning more frequently.
Tips for Cleaning Brita Water Filters
Here are a few additional tips that I’ve learned over the years.
Tip 1 – Don’t wash the filter with soap
You can rinse the filter if you’re planning to re-use it. Don’t use soap to clean it because you’ll never get all of it out. This will give your water a soapy taste that you don’t want.
Tip 2 – Use a sponge or rag for cleaning
The plastic surfaces on the Brita filter are easily scratched. A brush or Brillo pad will mar the smooth surface and make your pitcher look dingy. Always use a rag or sponge for cleaning.
Tip 3 – Don’t submerge electronic components of the filter monitor
If your Brita filter has a digital filter monitor, don’t submerge it when you clean the pitcher. This will damage the electronic components and void your warranty. Just give it a light rinse with warm water and let it air dry before re-attaching it to the pitcher.
FAQs for Brita Pitchers
How do you get rid of mineral buildup in a Brita pitcher?
Hard water deposits are unsightly and can damage your pitcher if left in place. You can easily remove mineral deposits using vinegar. I use one teaspoon white vinegar in a cup of clean water. This works great and gets rid of hard water scale really well.
How do I take the Brita filter apart?
Disassemble your Brita pitcher by removing the lid and taking out any pieces that hold the filter in place. Next remove the reservoir and other parts that hold the filter in place. Finally, take out the filter from the pitcher.
Check the pitcher instructions that can with your filter for details. I keep mine in the kitchen where it will be available for a quick check when I’m cleaning my Brita.
What’s the best soap to use for cleaning my Brita pitcher?
You can use any mild detergent for cleaning your Brita water filter. Look for a non-abrasive detergent to avoid scratching the smooth surfaces. Don’t use dishwasher detergent because it contains caustic that can damage the plastic parts.
How to clean a Brita in the dishwasher?
If you’re wondering how to clean a Brita in the dishwater – you really shouldn’t. Brita pitchers are not dishwasher safe. You must wash the pitcher by hand. Read my article about washing your Brita in the dishwasher.
Final Take
You should clean and wash your Brita pitcher every 1 to 2 months. I recommend a thorough deep cleaning every 3 to 4 months to remove limescale, mold, and accumulated grime. Use mild detergent and white vinegar to clean your pitcher safely. Be sure to rinse the parts well and allow everything to air dry before reassembling. Following these steps will help keep your Brita pitcher in great shape for years to come!
Happy cleaning!