Are you wondering how to change Brita filter Maxtra for your water filter pitcher? In this guide, we’ll provide clear, easy-to-follow steps to help you replace your filter and enjoy clean, fresh-tasting water.
To correctly change the Brita Maxtra filter, follow the specific sequence and adhere to Brita’s guidelines. Our guide will help you properly wet, securely connect, and soak the filter, ensuring clean and fresh-tasting water.
Keep reading to discover the correct way to change the Brita Maxtra filter, along with a valuable tip that will help you maximize the benefits of your new filter.
Check out my other articles about Brita filters:
Why Is My Brita Filtering So Fast?
Why Your Brita Water Filter Isn’t Fitting and What You Can Do About It
How to Clean a Brita Pitcher Filter: 6 Easy Cleaning Steps
How Long Do I Soak a Brita Filter Before Using It?
How Long Do Brita Filters Last (Detailed Discussion and Analysis)
Table of Contents
Step by Step Instructions: How to Change the Brita Maxtra Filter
I know the instructions provided by Brita for changing the Maxtra filter can be a bit confusing and lengthy. SI have this filter, and I decided to put together this concise step-by-step guide to make the process simpler and easier for you.
I photographed myself changing the Maxtra filter on my Brita pitcher. I hope the photos are helpful.
Step 1: Remove the lid
Take the lid off the Brita water filter pitcher. Be careful not to damage the lid. I always have the pitcher sitting on a solid surface so I don’t drop it.
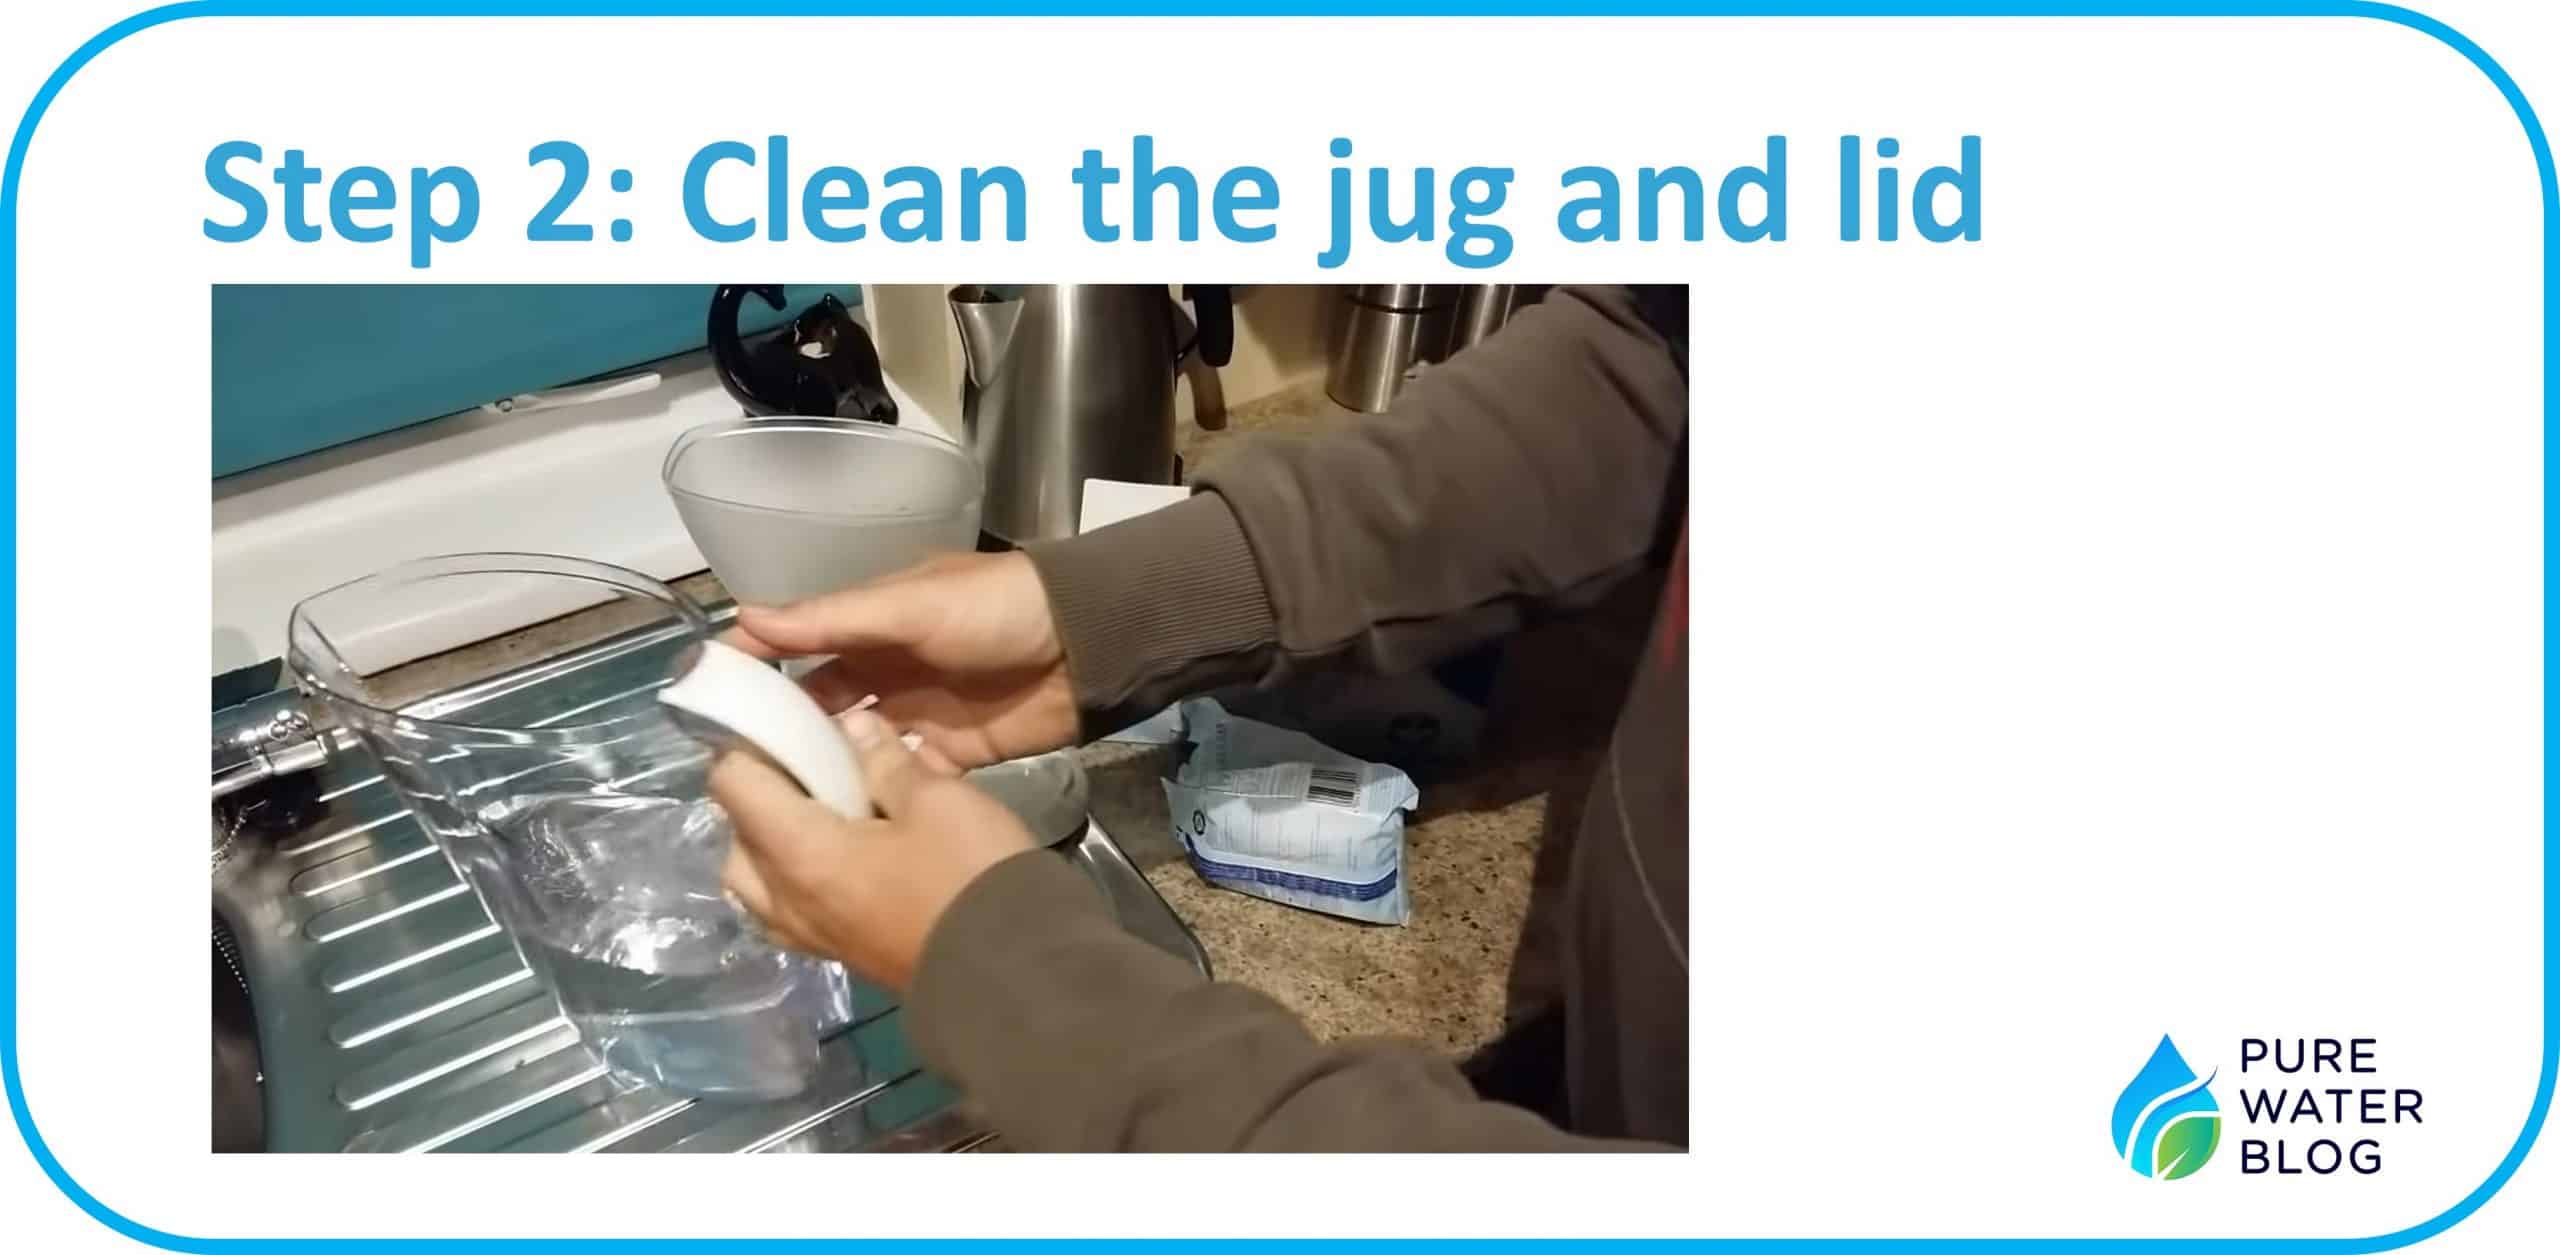
Step 2: Clean the pitcher and lid
Wash the pitcher and lid with warm soapy water. Avoid washing the electronic timer part with water to prevent damage. You can use a brush to scrub it clean. Brita recommends using a mild dishwashing detergent.
Step 3: Unpack the new filter
Take the new Maxtra filter out of its packaging. Check it to make sure it isn’t damaged – I’ve noticed that some new filters have cracks or are completely broken. Don’t waste your time trying to use a defective filter.
Step 4: Soak the filter
Fill the pitcher halfway with water, and place the new filter in the water. Let it soak for about a minute while gently shaking it to prime the filter with water. This is an important step because it gets all of the air out of the filter. Air bubbles can block the carbon granules from coming into contact with the water. They can also create pressure that causes your filter to process water slowly.
Step 5: Insert the filter
Remove the filter from the water and place it over the draining board to avoid spilling water everywhere. Click the filter into the bottom of the pitcher, making sure it is properly seated. Don’t force it or you might damage the filter or the retainer.
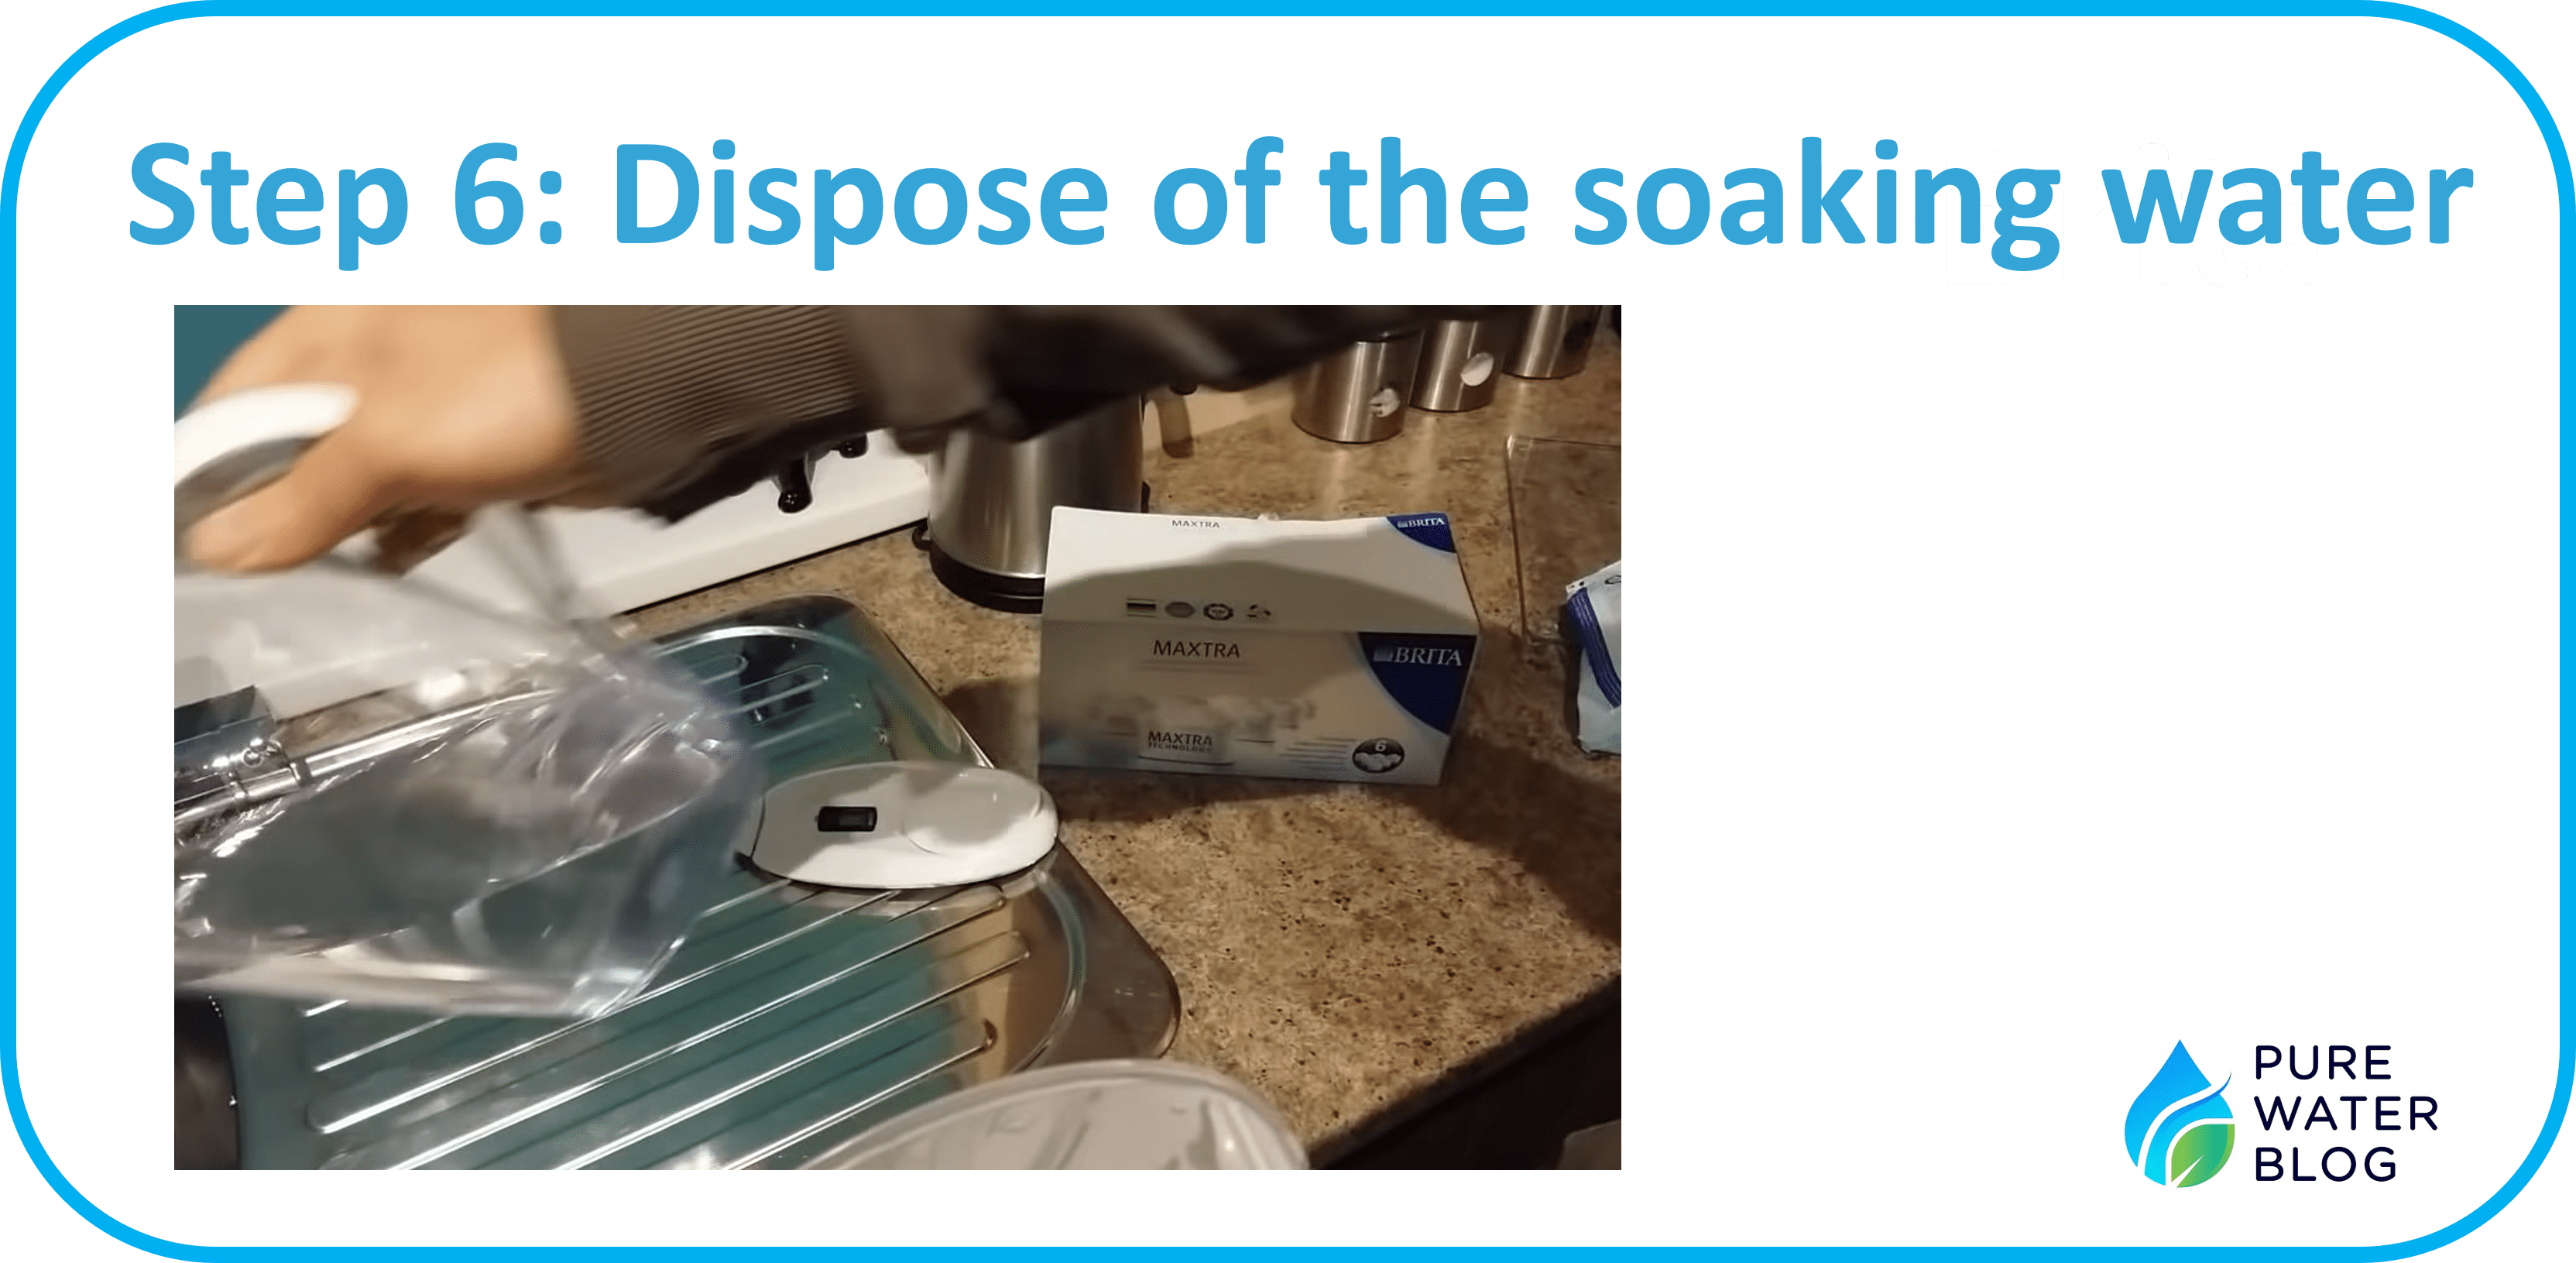
Step 6: Dispose of the soaking water
Pour the soaking water into a bowl or use it to water your plants later. Read my article about using Brita water for your plants.
Step 7: Place the filter top in the pitcher
Put the filter top back into the pitcher. Make sure it fits snugly. You may have to wiggle it to get it to seat properly. Don’t use too much force because you might break the plastic lid.
Step 8: Rinse the filter
Fill the pitcher twice with tap water and let the water filter through each time. This helps to clean the filter and remove any deposits that might come through into the drinking water. Discard the filtered water after each fill. If you skip this step you’ll end up with black particles of carbon in your water or cloudy water.
Step 9: Fill the pitcher for drinking
Fill the jug with tap water for drinking. The filtered water is now ready to be enjoyed.
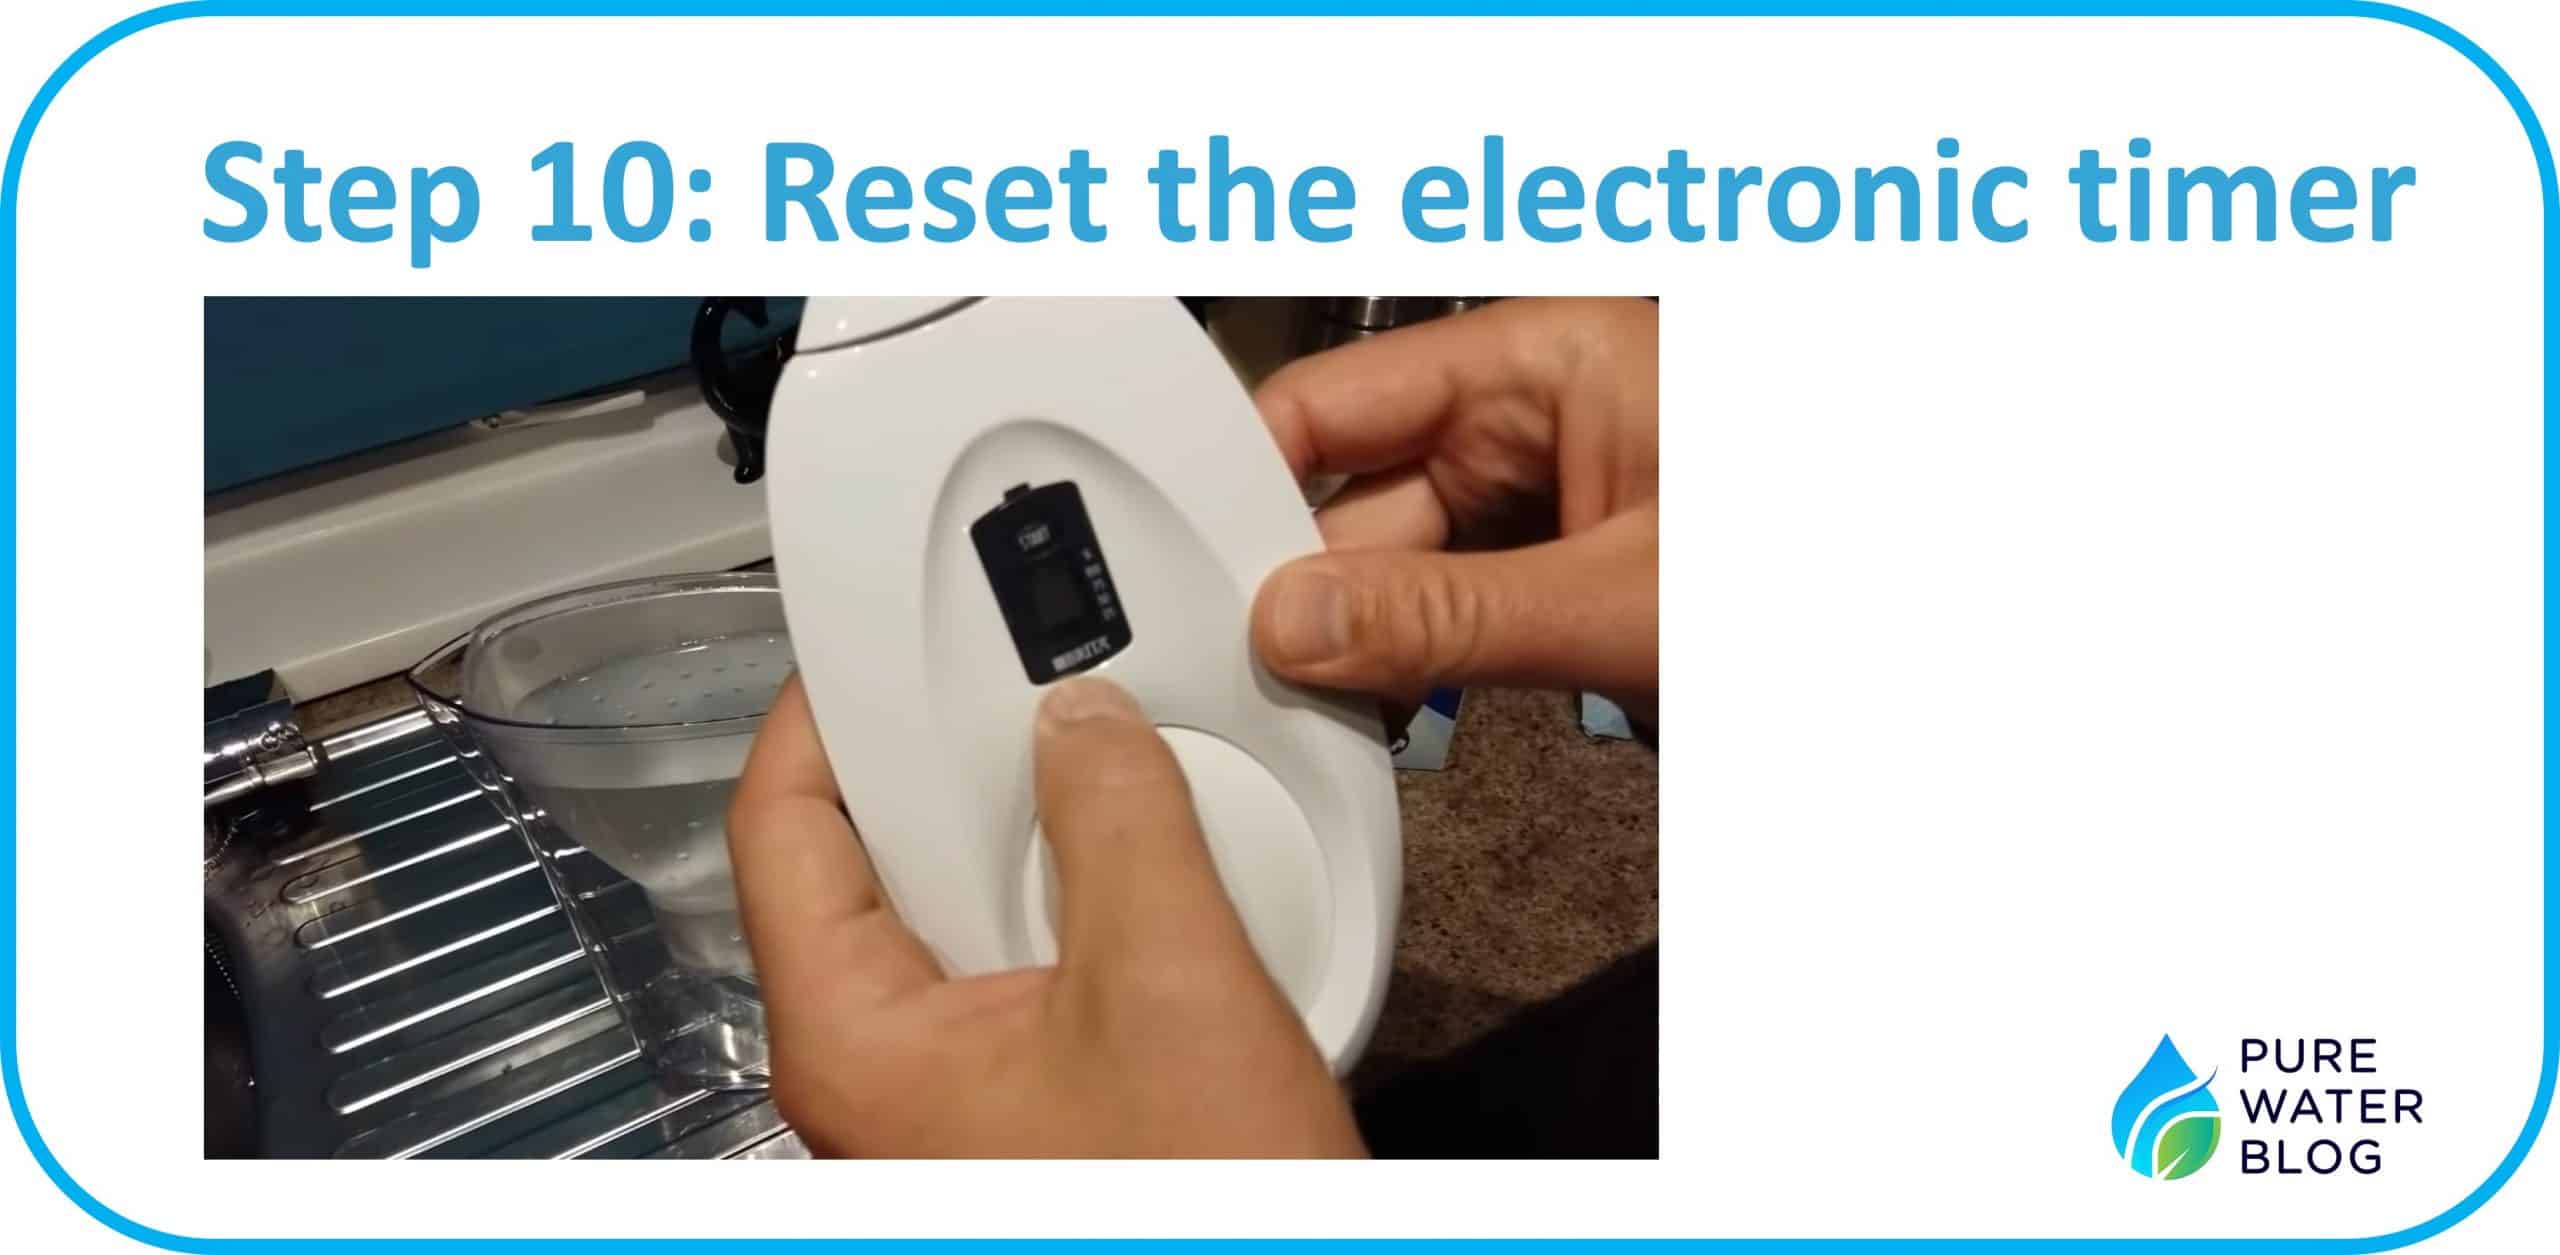
Step 10: Reset the electronic timer
Hold your finger or thumb on the start button until the timer flashes a number of times and then let go. This resets the timer to track the filter usage. Read my article about how the Brita filter indicator works.
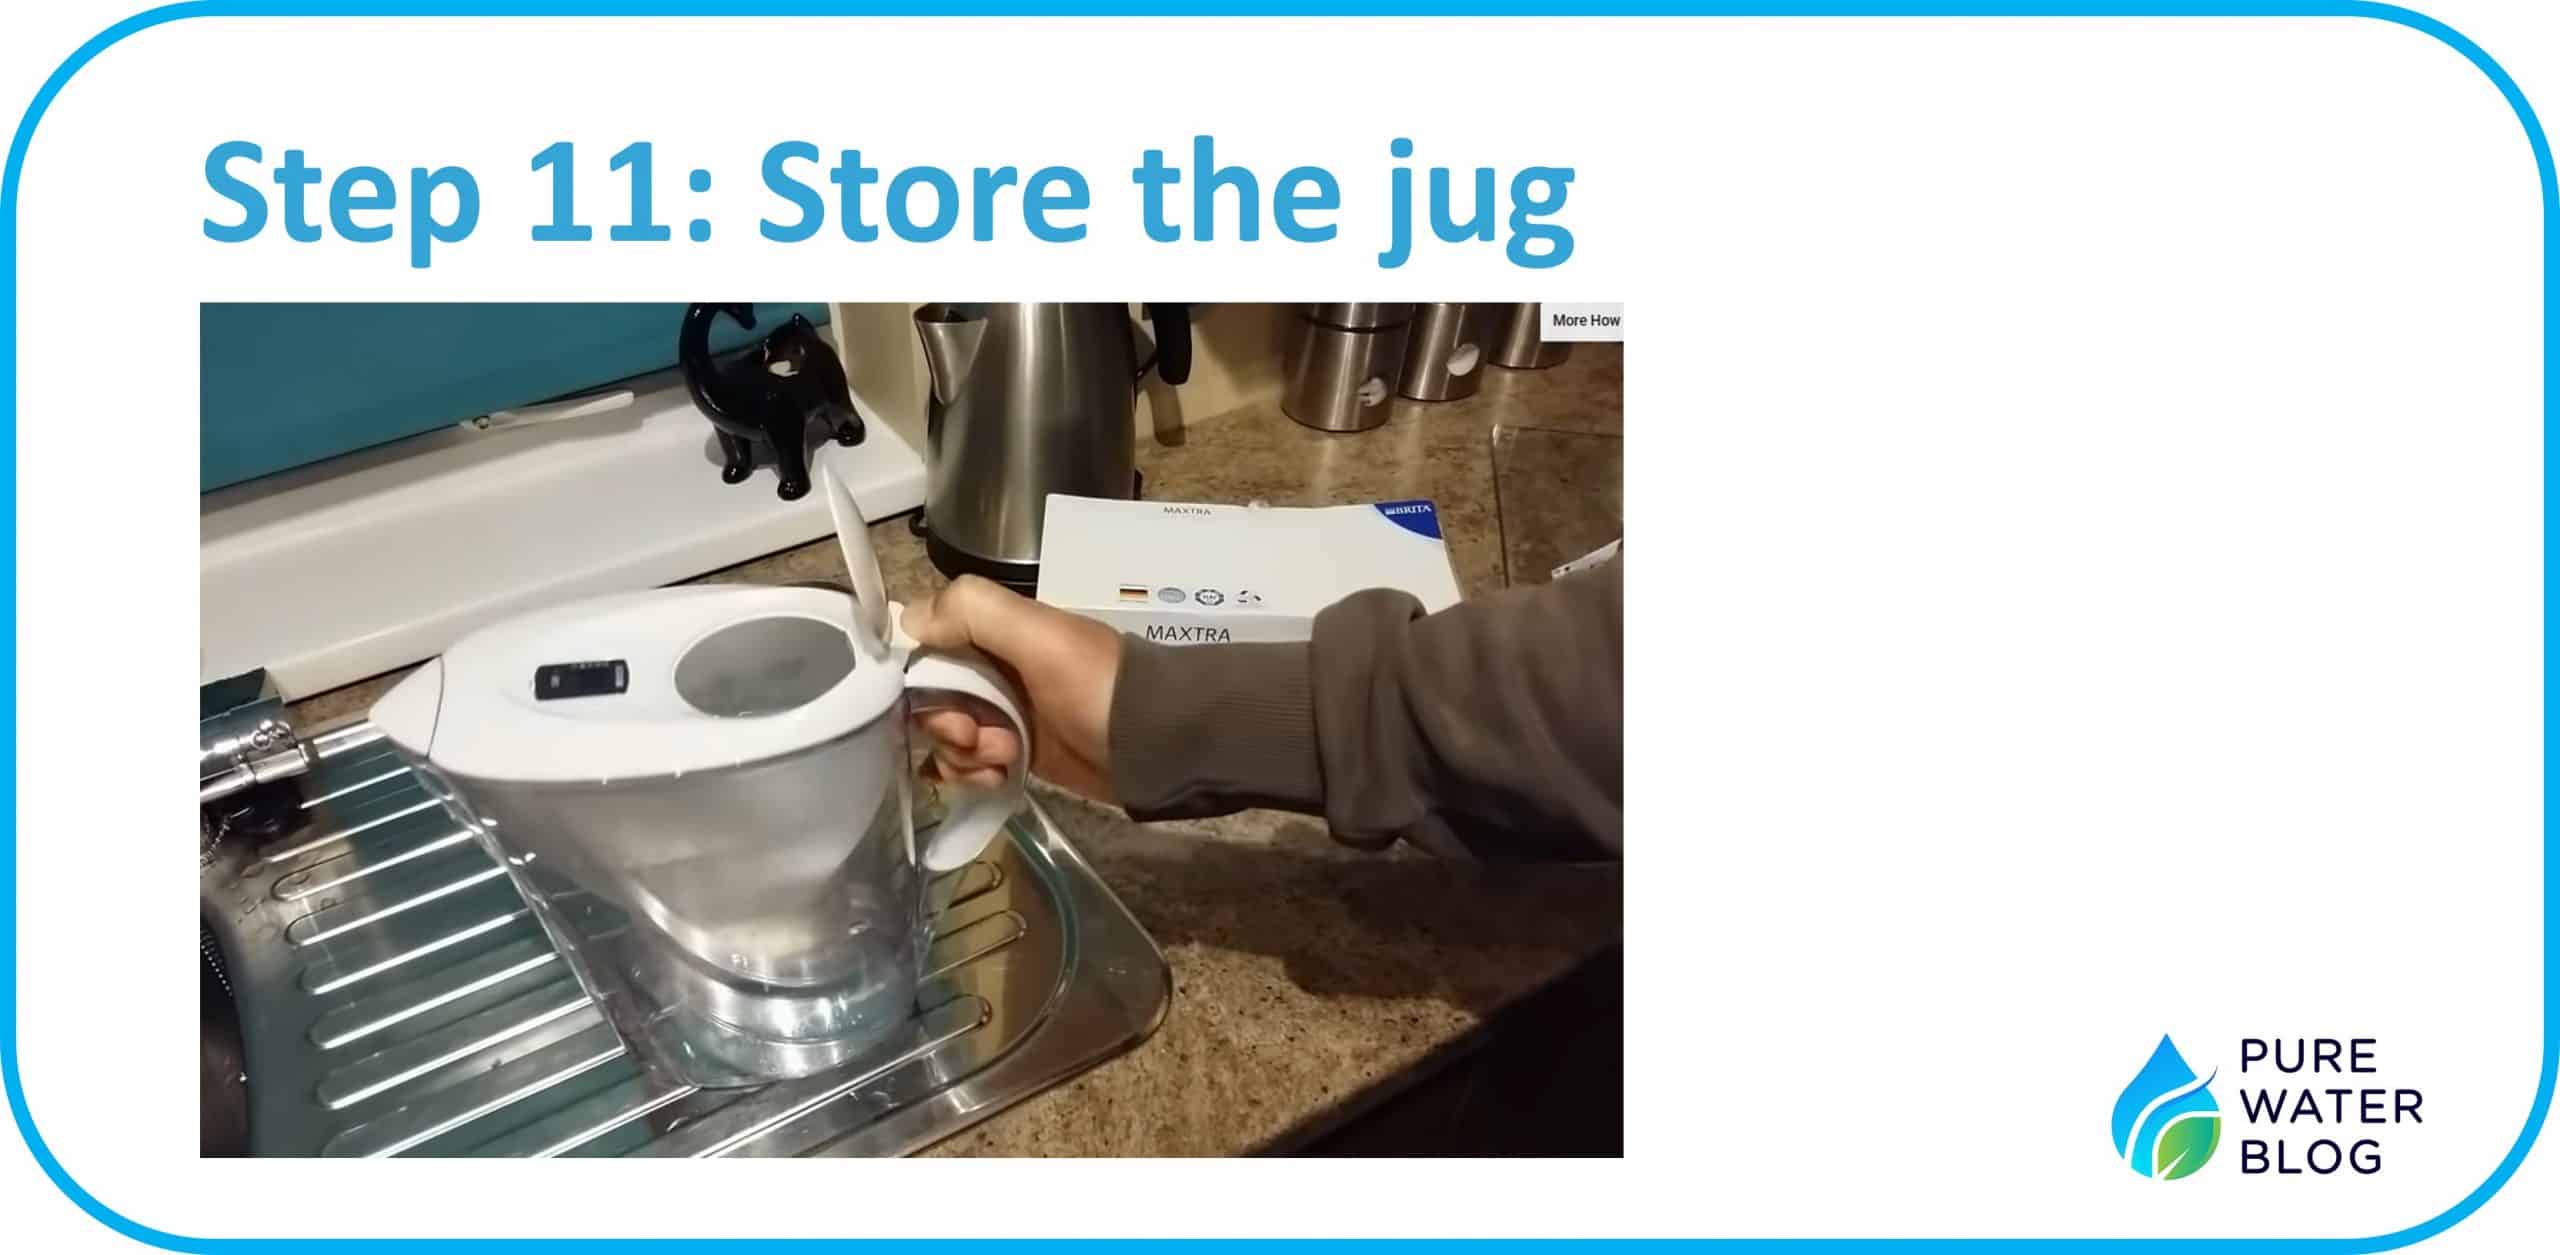
Step 11: Store the Brita filter
Place the pitcher in the door of your fridge to have ice-cold filtered water at any time.
Now you have successfully changed the Brita Maxtra filter and can enjoy clean, fresh-tasting water.
Important Tip
To get the most out of your new Brita Maxtra filter and ensure you always have fresh-tasting water, it’s important to properly prepare the filter before its first use. When you first unpack the filter, soak it in a half-filled pitcher of water for about a minute, gently shaking it during this time. This process primes the filter, removing any air bubbles and ensuring that it works effectively from the very first use. Following this simple tip will help you enjoy the full benefits of your Brita Maxtra filter right away.
How Often Should You Replace Your Brita Filter
When it comes to maintaining the effectiveness of your Brita water filter pitcher, it’s essential to know how often you should change the Maxtra filter.
Brita’s recommendation for Maxtra filter replacement?
Brita recommends replacing the Maxtra filter every month to ensure optimal performance and water quality. This one-month time frame is based on filtering approximately 100 liters of water, which is the average usage for a household of two people.
How long does Brita Maxtra filter actually last?
However, some people have reported that they can go up to two months between filter changes without noticing a significant change in the taste or quality of their water. Factors such as water hardness, usage frequency, and personal taste preferences can impact how often you should change the filter.
Brita filter indicator
It’s important to remember that the electronic timer on the Brita pitcher serves as a helpful reminder for when it’s time to replace the filter. Once the timer indicates that the filter’s lifespan has expired, it’s a good idea to change it for the best water quality possible.
Read my article on how the Brita filter indicator works.
Even though the recommended time frame for changing the Brita Maxtra filter is one month, you may find that your specific usage and water conditions allow you to stretch that time frame up to two months. Just make sure to pay attention to the taste and quality of your water, and use the electronic timer as a helpful reminder to keep your filter working efficiently.
Final Take
This article presents a concise step-by-step guide to change the Brita Maxtra filter according to Brita’s instructions. It includes tips on how to maximize the filter’s lifespan and ensure clean drinking water.

